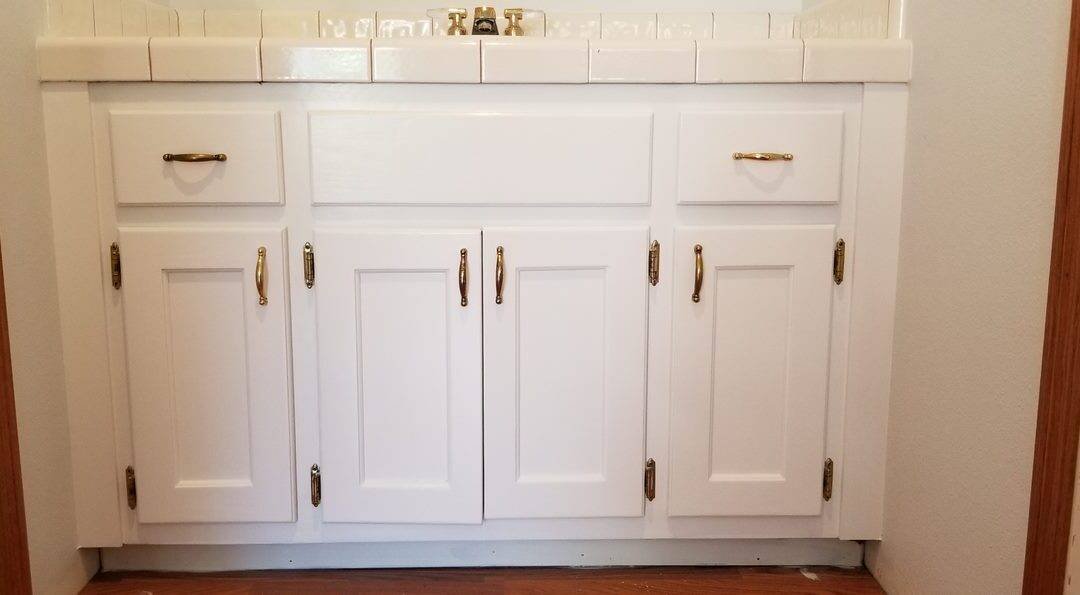
Simple steps in painting metal cabinet
Step 1: Preparation is critical to achieving a smooth, long-lasting paint finish on a metal cabinet. Start by thoroughly cleaning the cabinet with warm, soapy water to remove dirt, grime, or grease. Use a mild detergent and scrub gently with a soft sponge or cloth. Rinse off any residue and allow the cabinet to dry completely before moving on to the next step.
Step 2: Lightly sand the metal cabinet with fine-grit sandpaper once the surface is clean and dry. This will create a rough texture that helps the paint adhere better. Wear protective gloves and a dust mask while sanding to prevent inhaling particles.
Step 3: Applying a primer specifically designed for metal surfaces is essential before painting. Choose an appropriate primer based on whether your metal cabinet is indoors or outdoors, as different primers are available for each scenario. Apply an even coat of primer using a brush or roller to avoid leaving any streaks or clumps behind. Allow the primer to dry according to the manufacturer’s instructions before proceeding with your chosen paint color.
These simple steps will ensure that your painted metal cabinet looks professional and lasts for years. Take your time with the preparation process; spending extra time getting everything proper will pay off with a beautiful finished product you can be proud of. So go ahead, grab those brushes, and let your creativity shine!
Why painting metal cabinet is important
Painting metal cabinets is essential in transforming your space and enhancing its overall aesthetics. A fresh coat of paint adds a touch of elegance. It is a protective layer to prevent rust and corrosion from damaging the cabinets. Metal cabinets are often subjected to moisture, humidity, and other harsh conditions that can cause them to deteriorate over time. By painting them, you create a barrier that shields the metal from these elements, increasing their lifespan and durability.
Moreover, painting metal cabinets lets you personalize your space according to your taste and style preferences. The color palette you choose can completely alter the mood and atmosphere of your kitchen or bathroom. Whether you opt for bold hues or subtle neutrals, the right choice will significantly impact the overall look and feel of the room. Painting also allows you to refresh outdated cabinets without replacing them entirely, saving money and resources while achieving stunning results.
Furthermore, painting metal cabinets presents an excellent opportunity for DIY enthusiasts looking for a fulfilling project with significant results. With just a few tools and some paint remover or sandpaper, you can easily strip away any existing finish before applying primer and paint coats that suit your desired look. This process rejuvenates tired-looking cabinets and provides a sense of accomplishment as you witness the transformation taking place before your eyes. Whether you are looking for an affordable upgrade or seeking creative fulfillment through renovation projects, painting metal cabinets checks all the boxes while injecting new life into your living space.
Gather necessary materials and tools
Before you embark on any painting project, gathering all the necessary materials and tools is crucial. When painting a metal cabinet, proper preparation and having the right supplies can make a significant difference in achieving a professional-looking finish. Some essential items include sandpaper or a wire brush for removing rust or rough spots, primer specifically designed for metal surfaces, high-quality paintbrushes or rollers for smooth application, and a paint tray for easy access to your chosen paint color.
In addition to these basics, remember to invest in painter’s tape to protect edges and areas you don’t want to be painted. A drop cloth or old newspapers are essential for protecting your work area from spills and splatters. If the cabinet has intricate details or hard-to-reach areas, consider getting a small angled brush or foam applicators to ensure thorough coverage. Finally, check if you need additional items such as wood filler (if your metal cabinet has any dents), masking paper (for large areas), or spray paint if you prefer that application method.
Keep in mind that using high-quality materials will not only provide better results but also ensure durability over time. Although gathering all the necessary materials may feel like an extra step before starting your project, doing so will save you time and frustration since everything will be readily available as you transform your metal cabinet into something beautiful and refreshed.
Prepare the cabinet surface for painting
Before you paint your cabinets, it’s essential to properly prepare the surface so that the paint adheres well and produces a professional-looking finish. Start by removing all hardware, such as handles and hinges, and set them aside for later. Next, thoroughly clean the cabinet surface using a mild detergent or degreaser to remove dirt, grease, or grime. This step is crucial because leftover residue can prevent the paint from adhering correctly.
Once the cabinets are clean and dry, it’s time to tackle any imperfections on the surface. Inspect your cabinets for dents, scratches, or holes, and fill them with wood filler or putty. After applying the stuffing according to manufacturer instructions, allow it to dry completely before sanding down until smooth. Sanding helps create an even surface and roughens up glossy finishes for better paint adhesion.
Lastly, remember to prime your cabinets before applying paint. A good primer will ensure the paint sticks well and provides a consistent finish across all surfaces. Apply an even coat of primer using a brush or roller and let it dry completely before moving on to the fun part – painting! These extra steps may take some time upfront. Still, they will ultimately make all the difference in achieving a beautifully painted cabinet that will stand up over time.
Apply primer to ensure better adhesion
Applying primer may seem like an extra step in refinishing a metal cabinet. Still, ensuring better adhesion of any paint or topcoat you use is crucial. Primer acts as a foundation, creating a smooth and even surface for the paint to adhere to. Without primer, your finish coat could easily peel or chip off over time – and nobody wants that.
One of the main reasons primer is necessary on metal surfaces is because it helps prevent corrosion. Metal cabinets can be prone to rusting, especially in areas with high humidity or moisture content. By applying a layer of primer before painting, you are essentially adding an extra layer of protection from these elements. The primer creates a barrier between the metal and the environment, reducing the risk of rust damage.
Another benefit of using primer on a metal cabinet is that it helps to improve color accuracy and coverage when applying your chosen paint color. Specific paint colors might appear dull or uneven when applied directly to bare metal without priming. The primed surface allows for better color saturation and more uniform coverage overall.
So, next time you plan on refinishing that old metal cabinet, use primer! It’s essential to ensure better adhesion, prevent corrosion, and provide optimal color accuracy.
Paint the cabinet with the desired color
When seeking to revamp your living space or office, one simple yet effective way to bring a fresh feel to the environment is by painting a metal cabinet with a desired color. While typically, we associate metal cabinets with their sleek and industrial look, customizing their color can transform them into an eye-catching focal point that seamlessly blends into your existing décor. You can easily breathe new life into an old, tired metal cabinet with patience and creativity.
One of the key considerations when embarking on this project is choosing the right type of paint for the job. Selecting a color formulated explicitly for metal surfaces ensures good adhesion and durability over time. Additionally, priming the cabinet beforehand can aid in creating a smooth and even surface for optimal paint application. Once you’ve prepared the cabinet accordingly, it’s time for the fun part – selecting your desired color! Don’t be afraid to think outside the box and opt for bold hues to make a statement against neutral walls or complementary shades that harmonize everything.
The act of painting adds visual interest and presents an opportunity for personal expression. For example, play around with different finishes, like matte or gloss paints, depending on your preferences and overall aesthetic goals. Furthermore, consider utilizing stencils or painter’s tape to create unique patterns or stripes on various parts of the metal cabinet to make it stand out.
Allow proper drying time between coats
Allowing proper drying time between coats of metal cabinets is crucial for achieving a smooth and durable finish. Skipping or rushing this step can lead to uneven coverage, adhesion problems, and even peeling or chipping of the paint. While applying multiple coats quickly to finish the project faster may be tempting, it is essential to remember that each skin needs time to dry before another one is used fully.
One common mistake is assuming that the surface feels dry to the touch, which means it’s ready for the next coat. However, paint can still be wet underneath, especially in areas with thicker application or lower airflow. To ensure a completely dry surface, waiting at least 24 hours between coats is recommended. This allows ample time for the solvents in the paint to evaporate and for proper bonding with the substrate.
Furthermore, allowing sufficient drying time between coats also helps avoid issues like solvent entrapment or bubbles forming on the surface of your metal cabinet. These problems can occur when subsequent coats are applied before previous ones can fully cure and release all their volatile components. Taking your time during this process will not only yield better results. Still, it will also save you from having to redo work later on due to premature failure of your painted metal cabinet.
Conclusion: Enjoy your beautifully painted metal cabinet
In conclusion, having a beautifully painted metal cabinet can genuinely transform the look and feel of your space. It adds a touch of elegance and sophistication that is hard to replicate with any other storage solution. Not only does it provide functionality by organizing your belongings, but it also serves as a stunning focal point in any room.
So, now that you have put in the time and effort to turn your ordinary metal cabinet into a work of art, it’s time to sit back and fully enjoy the fruits of your labor. Please take a moment to appreciate the intricate details and colors that make up its new appearance. Marvel at how this simple piece of furniture has turned into an eye-catching masterpiece – something you can proudly show off to friends and family.
Remember, though, that this is not just about aesthetics; it’s about creating an environment that brings you joy every time you walk into the room. Your beautifully painted metal cabinet should inspire creativity, spark conversations, and make you feel happy whenever you see it. So, feel free to experiment with different color palettes or patterns until you find what truly resonates with your style. After all, this is your space that should reflect who you are and what brings you happiness. Enjoy every moment spent in its presence; let it become a reflection of your personality; let it tell a story through its brushstrokes for years to come.
We also conduct painting services in Amador County. If you want to have a beautifully painted metal cabinet or other painting service just go to Michael Hines Painting for more information.