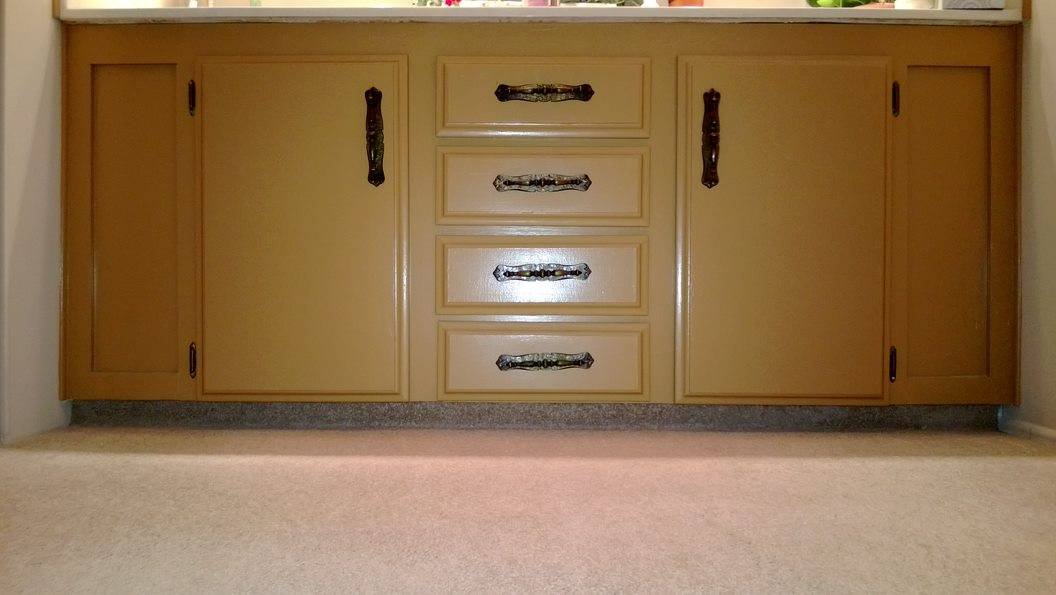
How to perfectly paint oak cabinets
When it comes to painting oak cabinets, preparation is critical. Before you reach for that paintbrush, thoroughly clean your cabinets’ surface with a mild detergent and warm water. This will remove any dirt, grime, or grease that could impact the adhesion of the paint. Lightly sanding the cabinets will help rough the smooth surface and create a better bond between the wood and stain.
Once your cabinets are prepped and ready to go, choose a high-quality primer designed for wood surfaces. This step is crucial in ensuring a professional-looking finish and preventing tannin bleed-through from the oak’s natural pigments. After applying one or two coats of primer, proceed with your chosen paint color. Opt for a semi-gloss or satin finish; these are more durable and easier to clean than flat paints.
To achieve an even application without brush marks or streaks, use a good quality angled brush or foam roller and apply several thin coats of paint instead of one thick skin. Allow each coat to dry completely before moving on to the next layer. Lastly, remember to add a protective topcoat such as polyurethane once all layers of paint have dried thoroughly.
Following these steps and taking time through each stage, you can transform outdated oak cabinets into modern masterpieces that suit your style perfectly.
Why painting oak cabinets can transform your space
Transforming your space can be as simple as a fresh coat of paint, especially regarding oak cabinets. Painting oak cabinets is a fantastic way to update your kitchen or bathroom’s overall look and feel without breaking the bank. Not only does it instantly modernize the space, but it also adds a touch of elegance and sophistication.
One of the most significant advantages of painting oak cabinets is choosing any color that suits your style and complements the rest of your home decor. While natural oak is beautiful, sometimes it can make a space feel dated or too traditional. Opting for bold, vibrant colors like navy blue or dark gray can instantly bring new life into your kitchen or bathroom.
Furthermore, painting oak cabinets can significantly increase the resale value of your home. Outdated oak cabinets may turn potential buyers off, but with some fresh paint in a trendy shade, you instantly show them that this space is on-trend and move-in ready. Plus, repainted cabinets are often easier to maintain than their natural finish counterparts; they are less prone to visible wear and tear over time.
In conclusion, painting oak cabinets offers an affordable way to transform any home space while adding style and value. It allows you to personalize your kitchen or bathroom with unique color choices that match your taste and current trends. So why settle for uninspiring wooden cabinets when painting them can bring new life into every corner?
Prepping before you paint oak cabinet:
Preparing cabinets for painting is essential for achieving a smooth and professional finish. Before picking up that brush, it’s crucial to take the time to prep your cabinets properly. Start by removing all hardware and doors, ensuring they are clean and free from grease or grime. This allows for better paint adhesion and eliminates the risk of dust particles ruining your final result.
Next, give your cabinets a good sanding to create a rough surface that will help the paint adhere better. Use medium-grit sandpaper or a sanding block and work in long, even strokes following the wood grain. Remember to thoroughly wipe down each cabinet with a damp cloth after sanding to remove any remaining dust particles.
Lastly, invest in high-quality primer before applying paint to your cabinets. Primer helps create an even base coat that prevents stains from seeping through and provides better coverage overall. Apply two coats of primer using a brush or roller, allowing adequate drying time between each coat. The extra effort put into prepping your cabinets will undoubtedly be worth it when you see your newly painted cabinets’ flawless and professional finish!
Sanding and cleaning the surfaces
Sanding and cleaning the surfaces of cabinets may be a challenging task. Still, it is an essential step in achieving a flawless finish. While it may seem tempting to skip this step or rush through it, taking the time to sand and clean properly will make a difference in the final result.
When sanding cabinets, start with a coarse-grit sandpaper to remove any rough spots or imperfections on the surface. Switch to finer grits to smooth out the wood and create a more polished look as you progress. This process helps prepare the surface for paint or stain and removes any built-up dirt or grease from years of use.
Once you’ve finished sanding, it’s crucial to thoroughly clean the cabinets before proceeding with any further steps. Use a mild detergent or wood cleaner to remove any dust residue left behind from sanding. This will ensure proper adhesion of your chosen finish and prevent debris from harming your hard work.
Remember, sanding and cleaning may seem tedious, but they are integral to achieving professional-looking results when refinishing cabinets. So grab those sandpapers and cleaners, put on some music in the background, and treat yourself to an afternoon of transforming your tired old cabinets into stunning pieces that will breathe new life into your space!
Applying primer: creating a smooth base
Applying primer to cabinets is crucial in achieving a smooth and professional finish. Primer creates a smooth base by filling in imperfections and sealing the surface, ensuring the paint adheres properly. However, it’s essential to apply primer correctly to maximize its benefits.
Firstly, make sure to clean the cabinets thoroughly before applying primer. Dust, grease, and grime can prevent proper primer and paint adhesion. Use a mild detergent or de-greaser and warm water to clean the surfaces. After cleaning, rinse any residue and let the cabinets dry completely.
Secondly, use long, even strokes for a smooth application when applying primer. Avoid excessive brushstrokes, which can create visible lines and unevenness on the cabinet surface. Additionally, if you’re using a roller for larger areas, choose one with a slight nap size for better control over coverage.
Lastly, don’t rush through multiple coats of primer to speed up the process. It’s important to let each coat of primer dry completely before adding another layer. This ensures an even application and helps prevent issues such as bubbling or peeling later on.
In conclusion, applying primer is essential when painting cabinets as it creates a smooth base for optimal results.
Choosing the right paint color: enhancing your space.
Choosing the right paint color for your cabinets can completely transform the look and feel of your space. Whether you’re renovating or simply want to give your kitchen a fresh update, selecting the perfect color is crucial. One popular option is to go with a classic white or off-white shade. White cabinets create a clean and timeless look that pairs well with any style and allows other elements in the room to shine. On the other hand, if you’re looking to add some drama, consider going bold with dark-colored cabinets. Rich hues like deep navy blue or emerald green can make a powerful statement and create an elegant atmosphere in your kitchen.
Another essential factor to consider when choosing cabinet colors is the size of your space. If you have a small kitchen or limited natural light, opting for lighter shades will help open up the area and make it feel more spacious. Lighter colors reflect light better, making even the smallest spaces appear more prominent and airier. However, if you have a large kitchen with ample natural light, don’t shy away from experimenting with darker cabinet shades. Deep tones can add depth and warmth to large spaces, creating an inviting and cozy atmosphere.
In addition to considering your space’s size, consider how different paint colors can enhance your home’s design styles or aesthetics. For example, if you have a farmhouse-inspired kitchen, earthy tones like sage green or cream would be an excellent choice for cabinet paint colors as they align perfectly with this rustic aesthetic.
Painting techniques for a flawless finish
When it comes to giving your cabinets a flawless and professional-looking finish, the key lies in mastering painting techniques that can make a world of difference. One method to consider is using a primer before applying your paint. This helps the paint adhere better and ensures an even color distribution on the surface. Another tip is to sand down any imperfections or old finishes on the cabinets before painting, creating a smooth canvas for your new color. Investing in quality brushes and rollers can significantly enhance the final result, as they distribute paint more evenly and leave behind fewer streaks.
Furthermore, paying attention to lighting during the painting process can significantly impact achieving that flawless finish. Natural light helps reveal any inconsistencies in coverage or brush marks more readily than artificial light. It’s crucial to have good lighting while you’re painting and allow dry time between coats to assess your progress accurately. Lastly, proper ventilation is vital when working with paints or primers containing solid odors or volatile organic compounds (VOCs). Ensuring adequate airflow will reduce unpleasant smells, help paint dry faster, and minimize dust particles settling on wet surfaces—a win-win!
Applying multiple coats for durability
When it comes to ensuring the durability of your cabinet, applying multiple coats of finish is a game-changer. While one layer of paint or varnish may provide some protection, multiple coats create a robust and long-lasting barrier against daily wear and tear. Each additional coat adds depth and strength, making an extra defense against scratches, moisture damage, and even UV rays. Not only does this enhance the overall lifespan of your cabinet, but it also keeps it looking vibrant and well-maintained for years to come.
Applying multiple coats also allows for greater versatility in style and aesthetics. Whether you prefer a glossy or matte finish, using several layers ensures that you achieve the desired look with precision. Additionally, multiple coats can help conceal any imperfections or flaws on the surface of your cabinet by providing a smooth and seamless finish that hides any blemishes effectively. With each coat carefully applied, you have greater control over the final result, allowing you to customize the appearance to suit your taste and design preferences.
In conclusion, don’t underestimate the power of applying multiple coats when it comes to ensuring your cabinet’s durability and visual appeal. The investment in time and effort will pay off in spades as you enjoy a more resilient piece that withstands daily use without showing signs of wear.
Conclusion: Enjoy your beautifully painted oak cabinets
In conclusion, now that your oak cabinets have been beautifully painted, it’s time to sit back and enjoy the incredible transformation. Take a moment to appreciate the hard work and effort that went into achieving this stunning result. Not only do you now have cabinets that look brand new, but you’ve also added value and aesthetic appeal to your kitchen.
Remember to maintain your newly painted oak cabinets as you bask in the beauty of your freshly painted oak cabinets. Regular cleaning with a gentle detergent and soft cloth will help preserve their fresh appearance for years. Additionally, be cautious when using harsh chemicals or abrasive cleaners, as they can damage the paint finish.
Lastly, take some time to appreciate how far you’ve come on this painting journey. Whether you decide to tackle this project yourself or hire professionals for assistance, remodeling your oak cabinets is an accomplishment worth celebrating. So make sure to savor every moment in your revamped kitchen and embrace the joy it brings each time you walk through its doors.
We also serve professional painting services in Amador County, visit Michael Hines Painting now!